Quickstart: your first 10 minutes
Create a workspace, connect Gmail, and turn your first email into a task.
Overview
Conopeum keeps your tasks, email, and time tracking in one place. This guide gets a brand-new workspace productive in about ten minutes.
1. Open the app
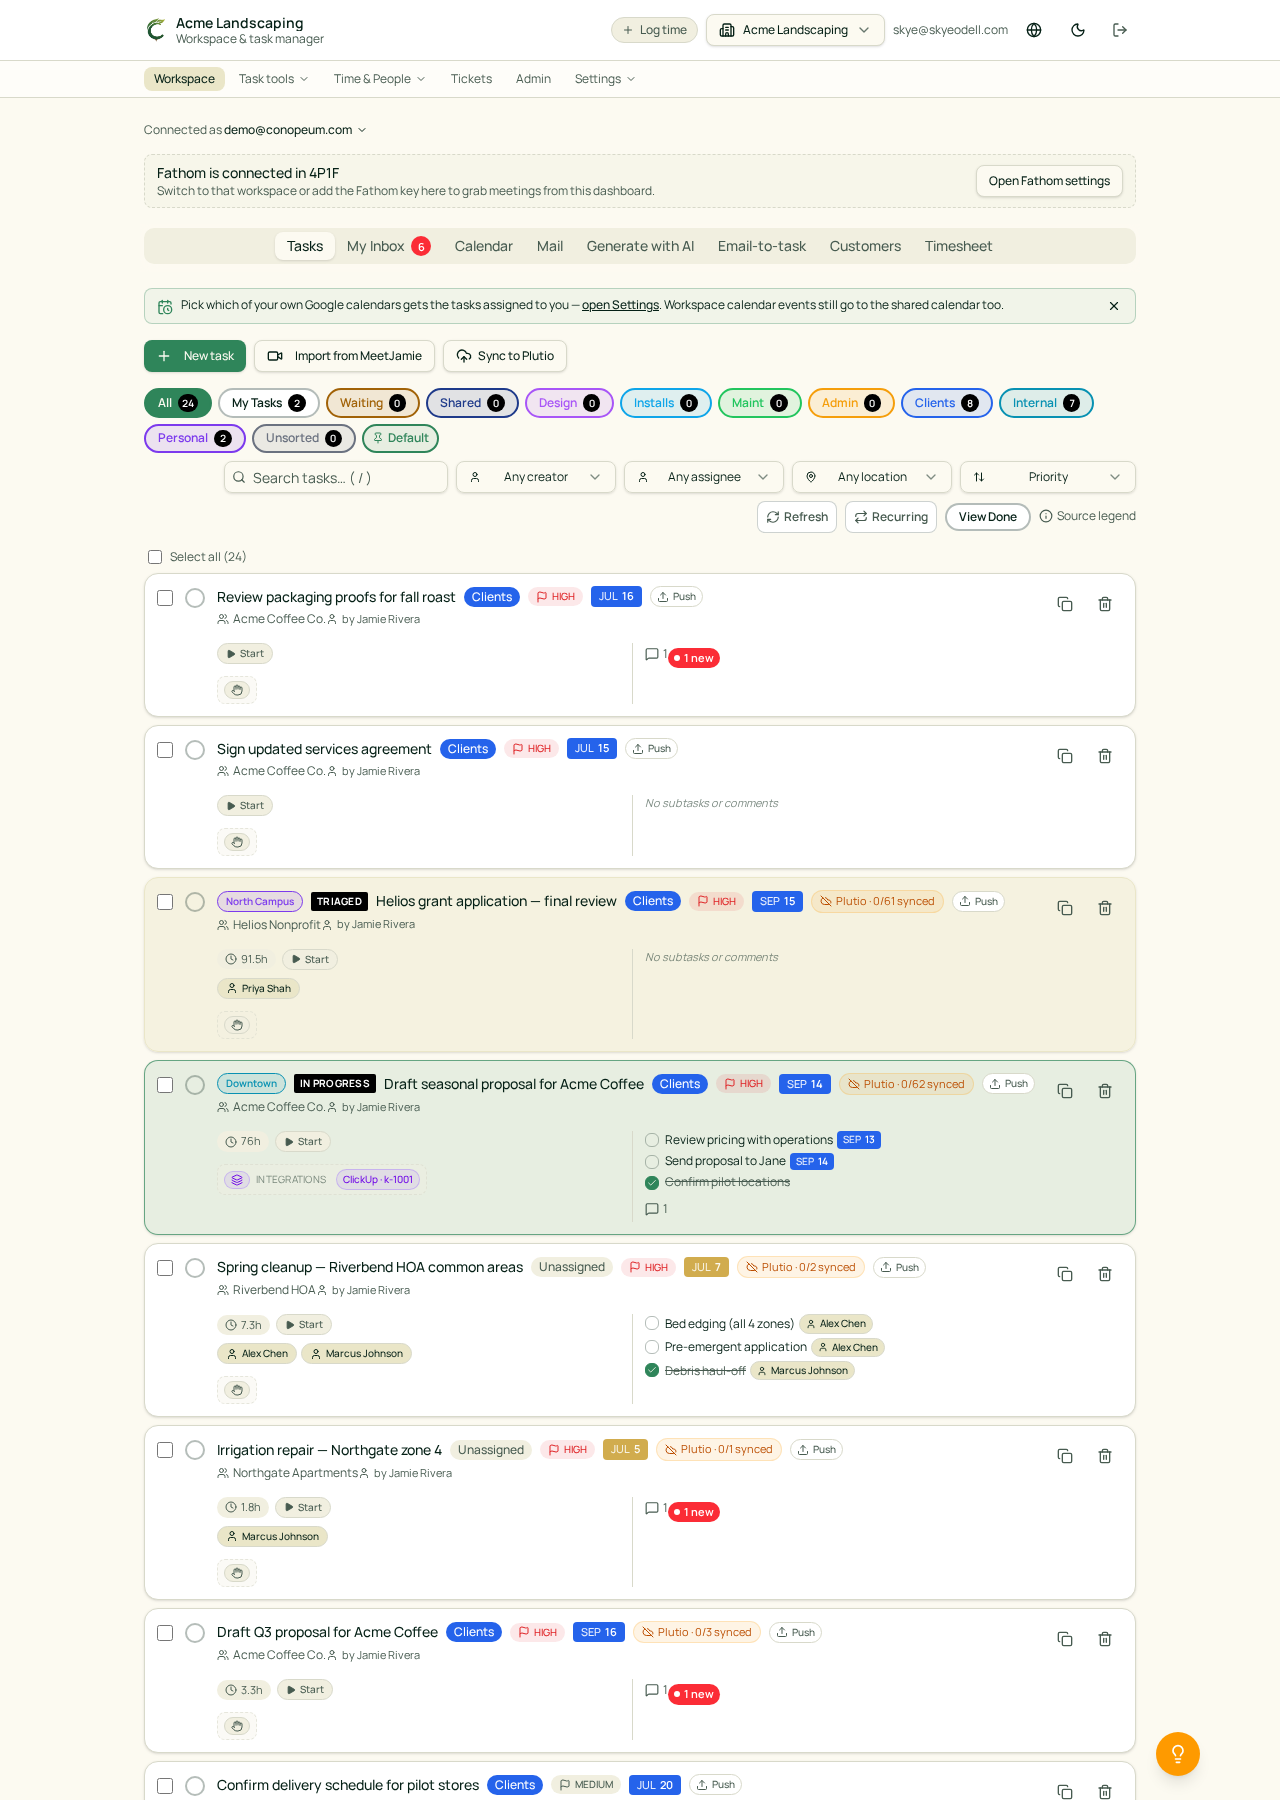
Sign in and land on Tasks, your main workspace view. The header shows your current workspace, the account you're signed in as, and quick actions for Log time and workspace switching.
Counters at the top summarize Total / Pending / Completed / High priority. Below that, section chips filter tasks by section (see Sections & People).
2. Create your first task
Click New task in the toolbar. Fill in a title and, optionally, a description, section, priority, due date, and assignees.
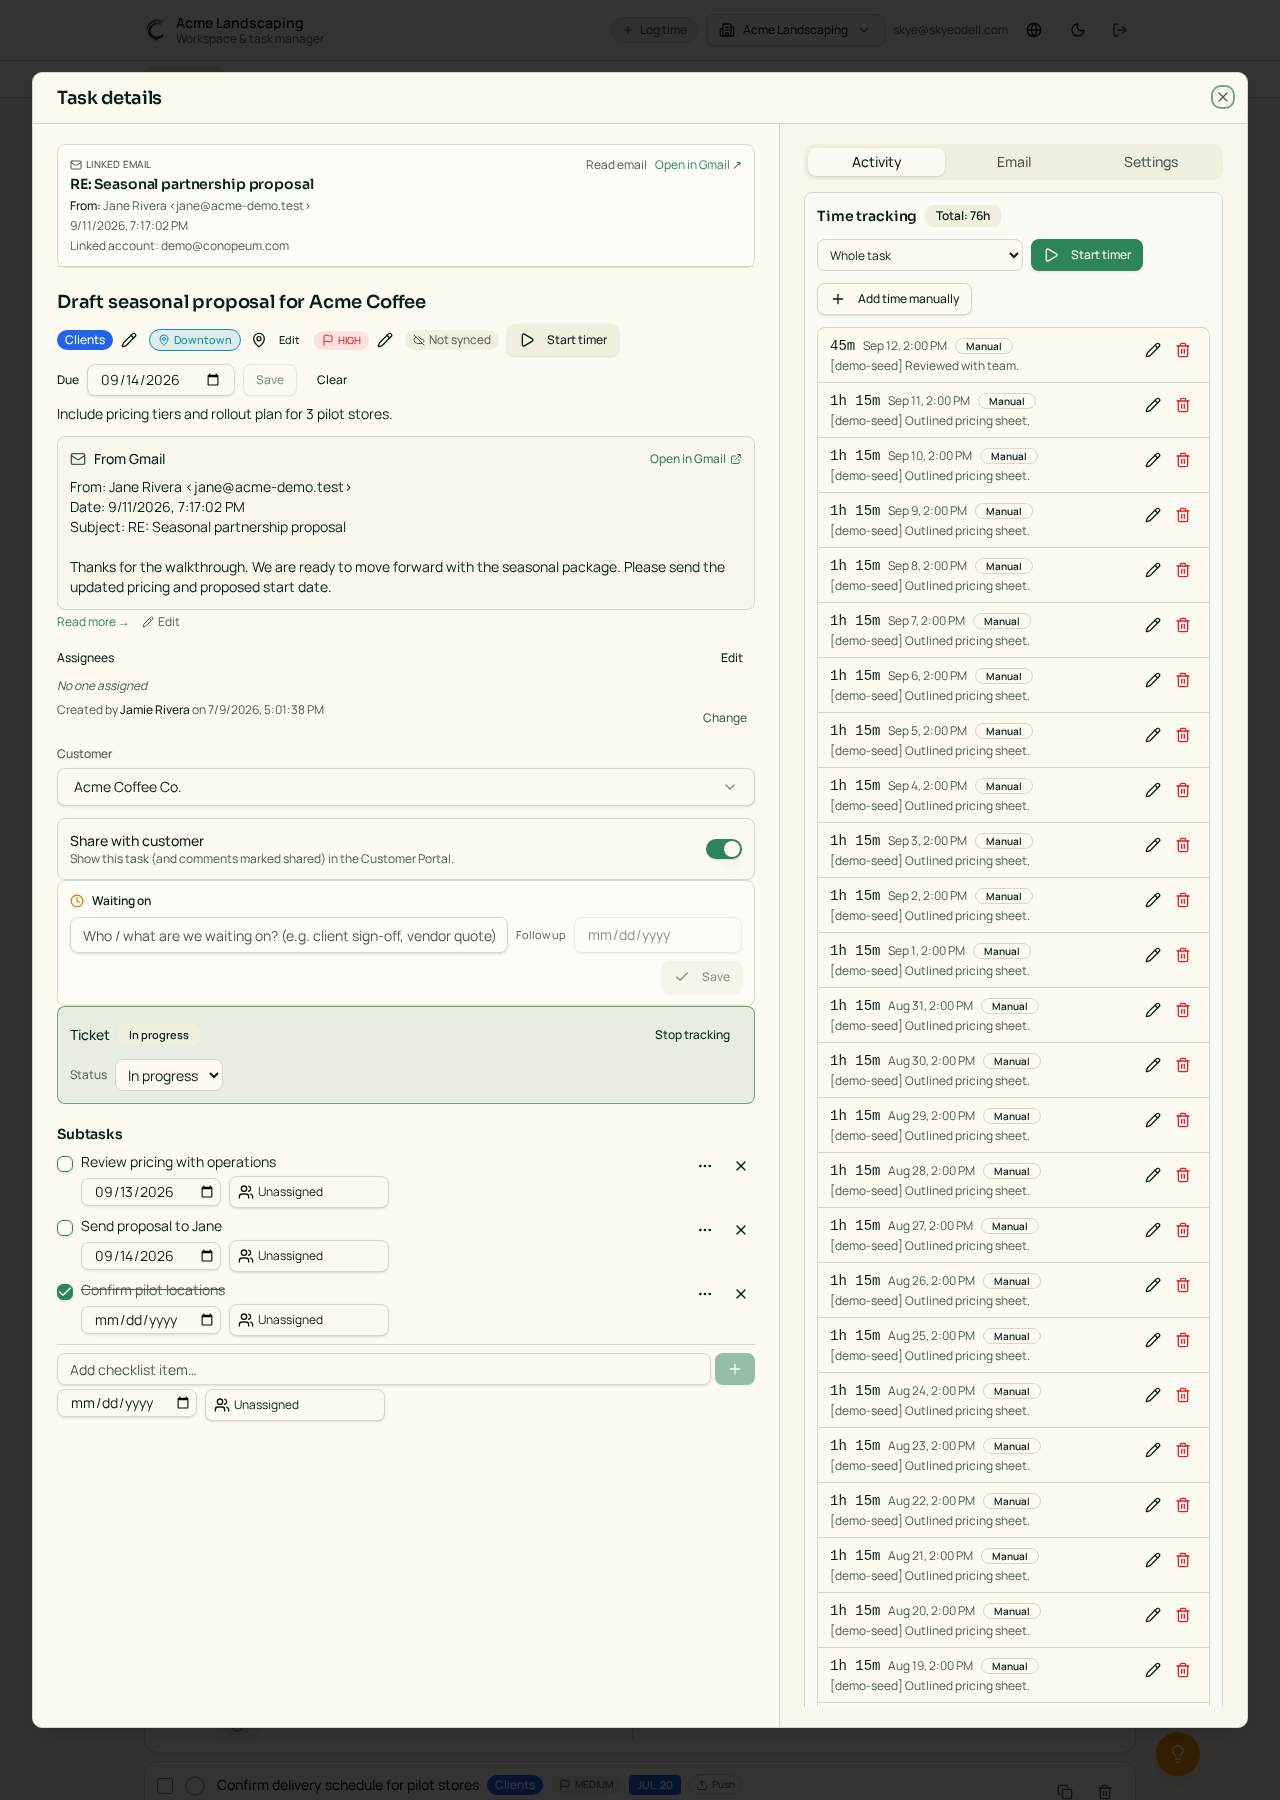
Save, and the task appears at the top of the list. Click the task title to open the full Task details dialog with checklist items, comments, attachments, time tracking, and integration pushes.
3. Connect Google (optional, but powerful)
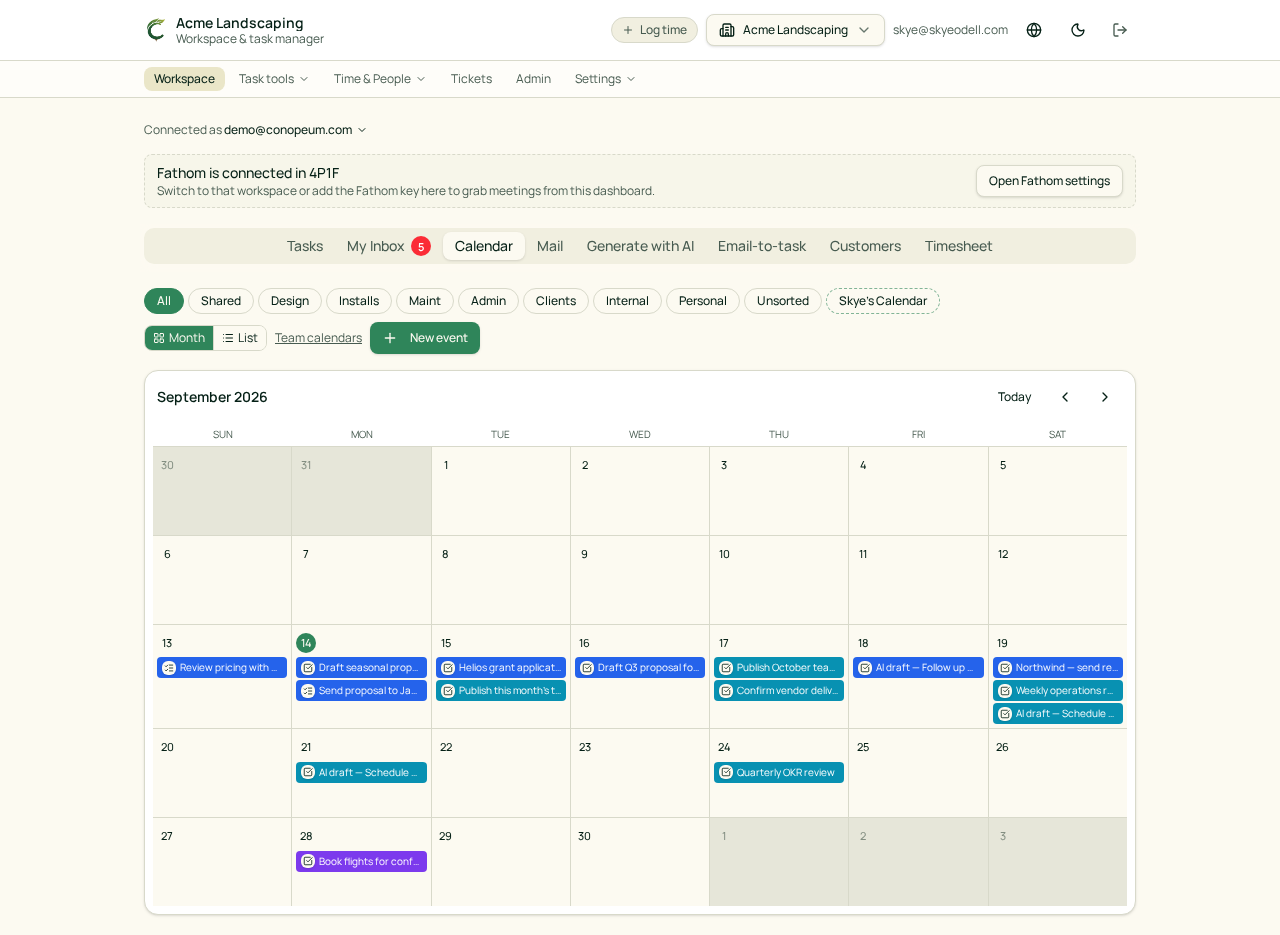
Open the Mail tab and click Connect Google account. Once connected you can read your inbox and turn Gmail threads into tasks. Conopeum uses Google Tasks as the source of truth. See Connecting multiple Gmail accounts.
4. Try external integrations
Conopeum connects to your favorite tools. Use the MyMarky integration to send a task as a draft social post: image or video attachments are uploaded to your media library automatically. You can also use the Canva add-on to create blank designs or open brand templates. Exported PNG, JPG, or PDF files sync to Google Drive and link back to the task as attachments.
5. Track time
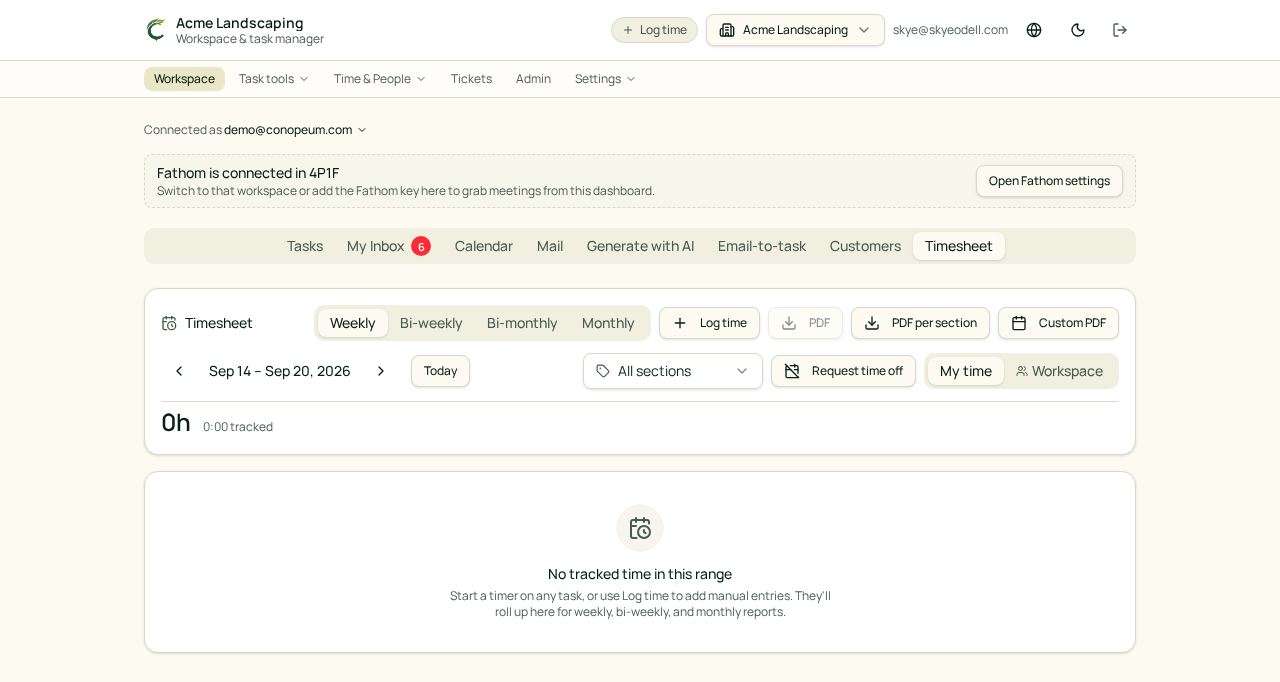
Every task has a Start timer button in its detail dialog, or use Log time in the header for a quick manual entry. All entries roll up on the Timesheet tab and can be pushed to Plutio or Avaza (coming soon). Time categories are resolved in order: customer, then section, then workspace default.
Next steps
- Invite members and set roles
- Add customers and link them to tasks
- Merge tickets for multiple threads from the same customer
Find your way around
The menu bar is grouped so it stays short even when your workspace has many features:
- Workspace returns to the task list. The workspace tabs below it stay available on pages such as customer details.
- Task tools contains Recurring tasks, Task templates, Task history, and Trash when your role allows them.
- Time & People contains the team dashboard, Time off, HR review, Org chart, Team management, and review queues that are enabled for your workspace.
- Tickets appears for Owners and Managers when the Tickets dashboard is enabled.
- Admin appears only for Conopeum app administrators.
- Settings contains workspace settings, your profile, and Sign out.
On smaller screens, these same destinations are inside one Menu button. Items you cannot use, or features your workspace has disabled, are hidden automatically.